


Even since CHA, I have been eagerly been awaiting the opportunity to purchase several of the new EK Success Slimline punches. Fortunately, when I went to my local JoAnn's on Thursday, I was delighted to find a bunch of the new punches had finally come out.
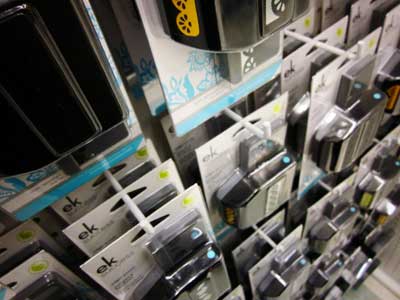
I picked up a few of the ones I couldn't live without and got my craft on. I have a couple of future posts planned around some nifty uses for them.. but for today, my favorite of these new ones has to be the Photo Label punch. It is a large size slimline punch that will punch out three individual labels at once. I believe the individual label sizes are large (2.25"L x 1"H) medium (1 3/4"L x 7/16"H) small (1"L x 7/16"H).
The one downside of the punch is that I like my labels to have a slight border around the edge. I tried inking the edges, but apparently, my shaking hands just aren't cut out to do that without causing smudges. Ditto for trying to turn them into a frame and using one on top of another. I also dug through my stash of label stamps, but found nothing that would fit the dimensions of my punched labels.
So, time to do this the hard way by making a border for the label by matting it on cardstock (you could use any paper, really).

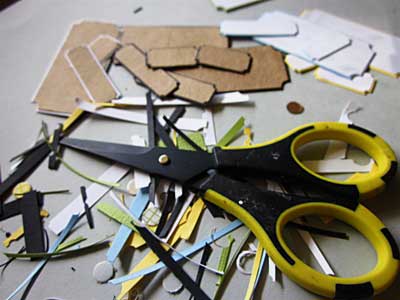
Go ahead and punch out some labels. Here I used white and kraft as my base.


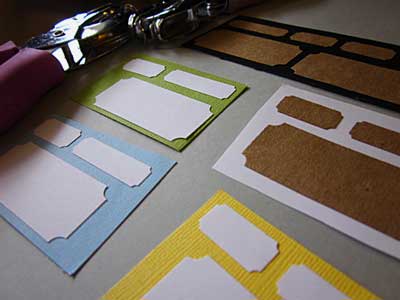


I like to punch all the holes first, that way if I mess up, I can reposition the label on the cardstock. Once you've got all the corners done, trim the rest of the cardstock to the desired border width.


Have a great weekend and happy crafting!


2 comments:
what a great tutorial!!!!
thanks so much
best
elisa
Love the idea of trimming the corner with a hole punch! Now, why didn't I think of that? :)
Post a Comment